After wearing heavy foundation you features looks more flat and the dept and definition of your natural features might be lost. This can be good if you already have very sculpted natural features but mostly you will want to have defined cheeks, chin and other parts of your face. It is not really hard to learn the basic contouring, all you need is practice with right tools and you will be pro in not time.
If you're new to contouring, this step-by-step guide will help you achieve a natural and flattering look.
Step 1: Gather Your Supplies
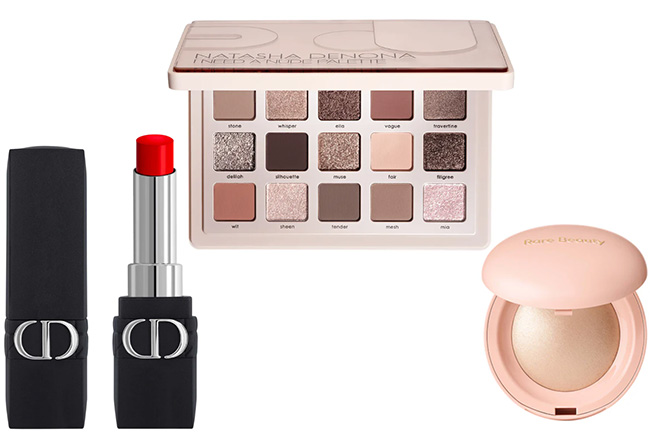
Before you begin, gather your makeup supplies: a contour shade (a matte bronzer or cool-toned powder), a highlighter, a makeup sponge or brush, and your regular foundation and concealer.
Step 2: Apply Base Makeup
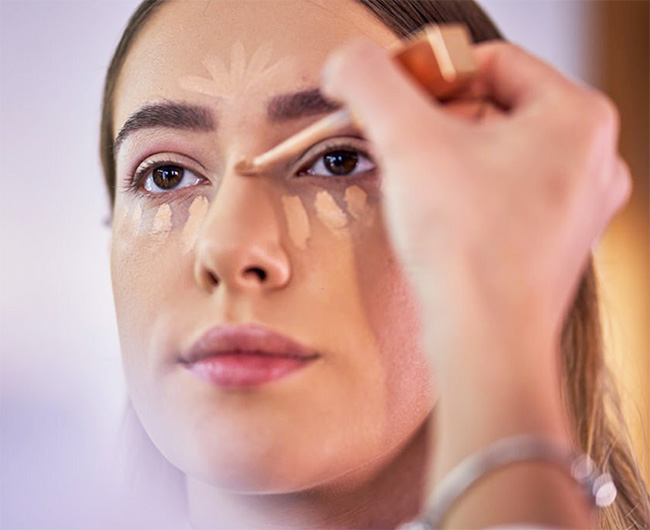
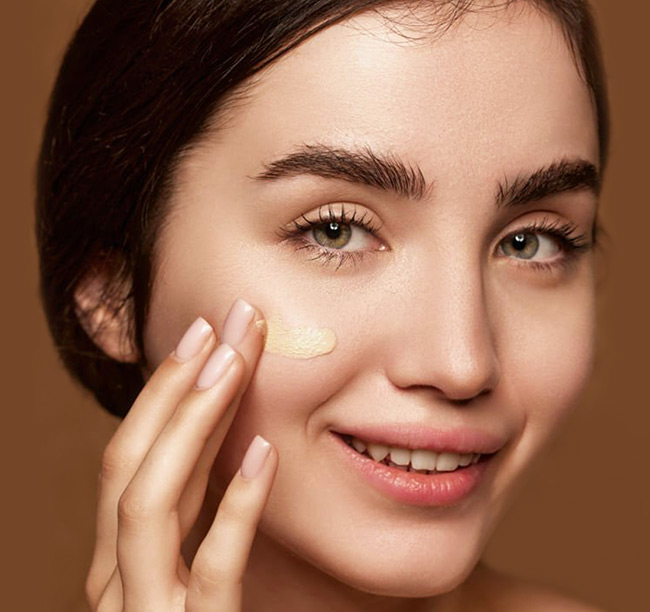
Start with your regular foundation and concealer routine to even out your skin tone and cover any imperfections.
Step 3: Choose Your Contour Shade
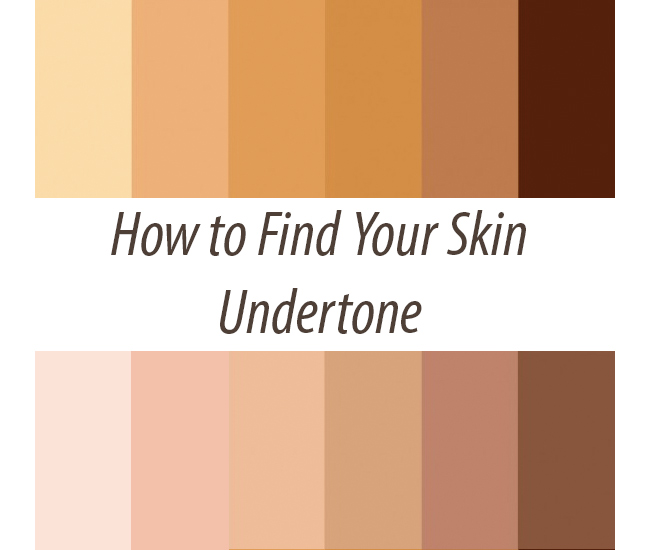
Select a contour shade that is a few shades darker than your natural skin tone. For a natural look, opt for a matte product without shimmer or glitter.
Step 4: Map Your Face
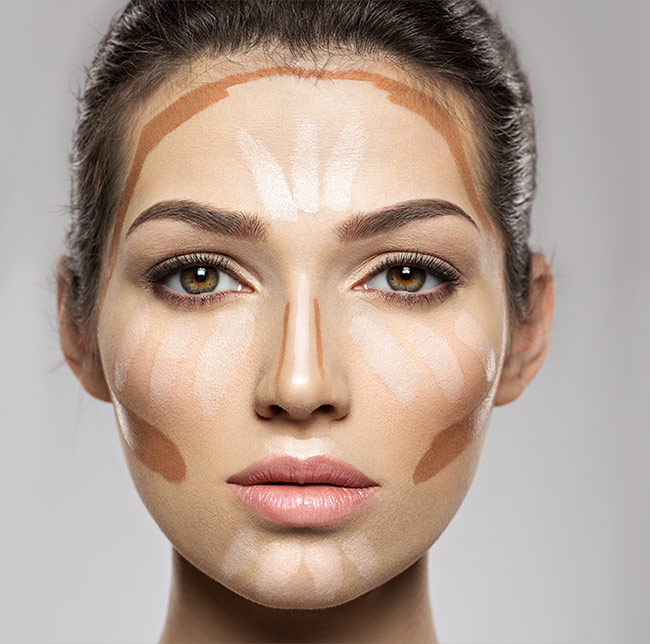
Identify the areas you want to contour. Common areas include:
- Under the cheekbones
- Along the sides of the nose
- Along the jawline
- Around the hairline on the forehead
- Below the lower lip to enhance the appearance of fuller lips
Use a makeup brush or sponge to apply the contour shade to the areas you've mapped out. Here's how to contour each area:
- Cheekbones: Apply the contour shade in the hollows of your cheeks, starting from the ear and moving towards the center of the face. Blend upwards towards the temples.
- Nose: Apply a thin line of contour shade along the sides of your nose. Blend well to avoid harsh lines.
- Jawline: Apply the contour shade along the jawline to create definition. Blend downwards towards the neck.
- Forehead: Apply the contour shade along the hairline, especially if you have a larger forehead. This can create the illusion of a smaller forehead.
- Lips: Apply a tiny amount of contour shade right below your lower lip to make your lips appear fuller.
The key to natural-looking contouring is blending. Use a clean brush, sponge, or your fingertips to blend the contour shade seamlessly into your foundation. Blending eliminates harsh lines and ensures a soft, natural transition between the contoured areas and your skin.
Step 7: Highlight
To complement your contour, apply a highlighter to areas you want to emphasize. Common areas include the tops of your cheekbones, the bridge of your nose, the cupid's bow above your lips, and the center of your forehead.
Step 8: Set with Powder
Once you're satisfied with your contour and highlight, set your makeup with a translucent setting powder to ensure everything stays in place.
Step 9: Practice Makes Perfect
Contouring may take a bit of practice to get right. Experiment with different techniques and products to find what works best for your face shape and desired level of definition.
Remember, the goal of contouring is to enhance your natural features, not drastically change your appearance. With time and practice, you'll become more comfortable and confident in achieving a beautifully sculpted look that enhances your unique facial structure.

